Dear Alice | Everything You Need to Know About Can Lighting
/Today we’re talking all about lighting, specifically can lighting (also known as recessed lighting) and general lighting fixtures. It may feel like a small detail that doesn’t demand much attention but we promise it’s something you should not overlook! It can influence the feeling of your space and even the way you look. Make note of your lighting plan as early as you can when you’re building or remodeling to avoid redoing any electrical work in the end.

First and foremost, let’s talk about what an RCP is and why you need one. RCP stands for reflected ceiling plan— it’s a compilation of drawings an architect and designer use to layout the location of cans and other light fixtures. As designers, we are always going in and taking out a lot of the can lights specified for a new build or remodel because architects and builders generally (not always) add way too many! We take the RCP into account in every space when it comes to space planning and the overall function of the room to get optimal lighting scenarios for both form and function.
Can lights are often referred to as the acne of the ceiling and we admittedly will photoshop them out in our photos for our portfolio. Cans do have a time and place—they are purely functional and assist in illuminating the perimeter of the room. However, in our own homes, we don’t always turn on the cans unless we’re cleaning or cooking. If you can, add dimmers to all of your lighting (cans, chandelier, etc.) we promise you don’t need as much light as you think! Nothing will kill the life of a party like a can light with no dimmer.

Newer cans can toggle between color temperatures of 27k kelvin (warmer) to 5k kelvin (very white and cold). Whatever you do, don’t buy stark 5k daylight bulbs from Home Depot, they are always too white and give off a ghostly blue tone. Do yourself a favor and pick up a slightly warmer bulb, you and your space will look much more inviting. If you’ve recently built, be quick to pull those 5k your builder may have specified and replace them with a warmer bulb. It’s a small detail that’ll make such a huge difference.
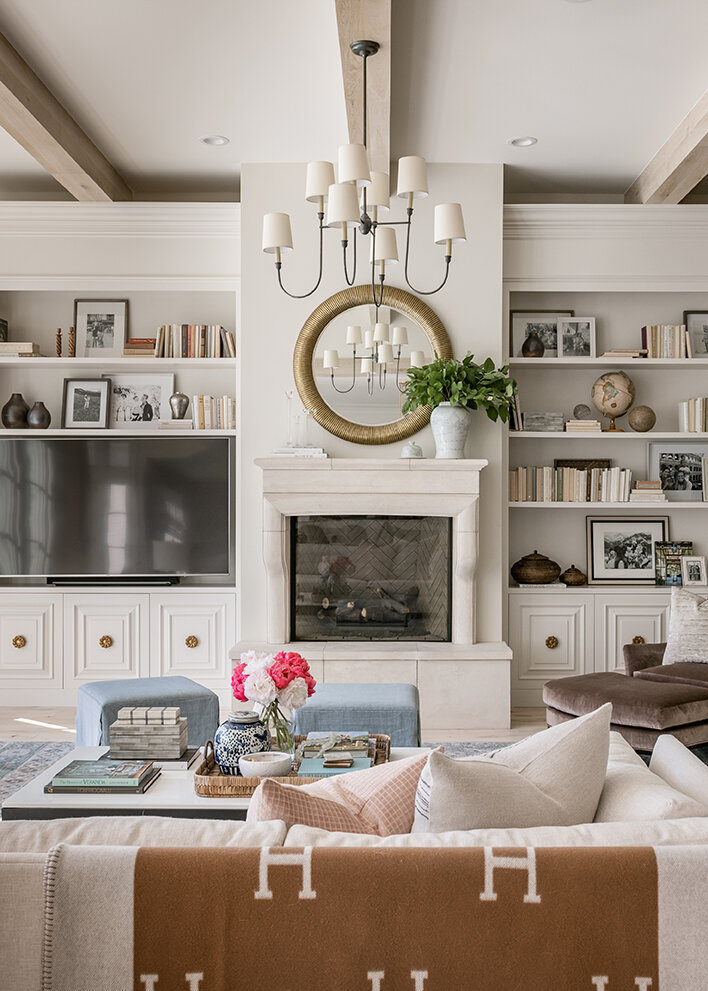
Now to tackle the placement of lighting: cans, sconces, chandeliers, pendants, etc. As a general rule, can lights should be about 6 ft apart. It’s said that a light’s beam spread will stretch 8 feet once it hits the ground and you’ll want them to slightly overlap. This may go without saying but you should pay attention to the way can lights are lined up with each other and other fixtures so they are neat and orderly.
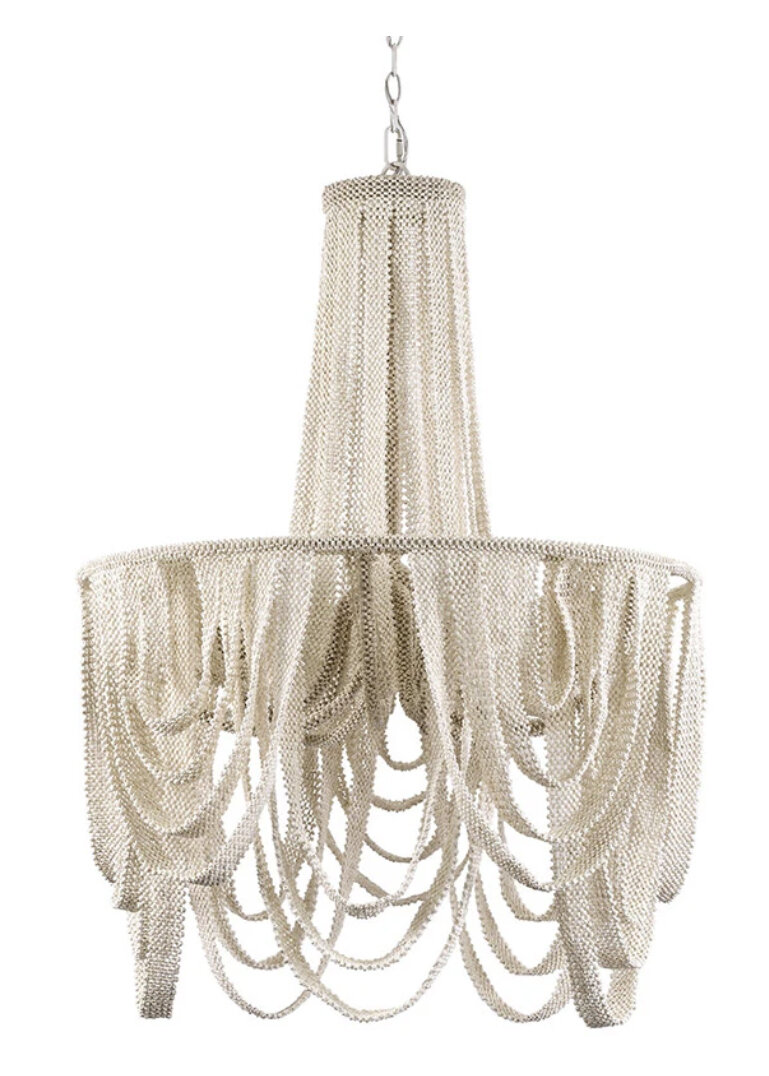
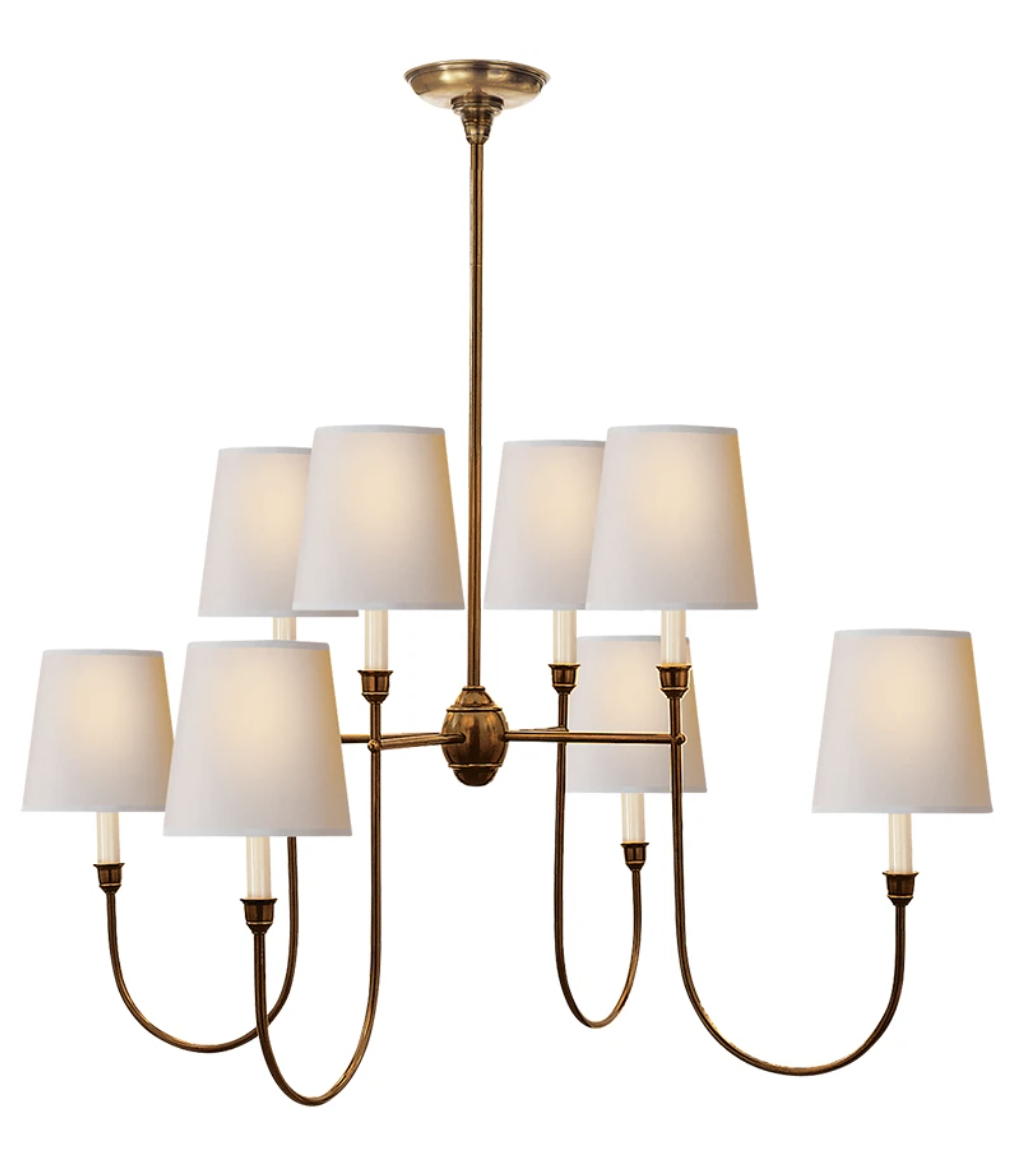
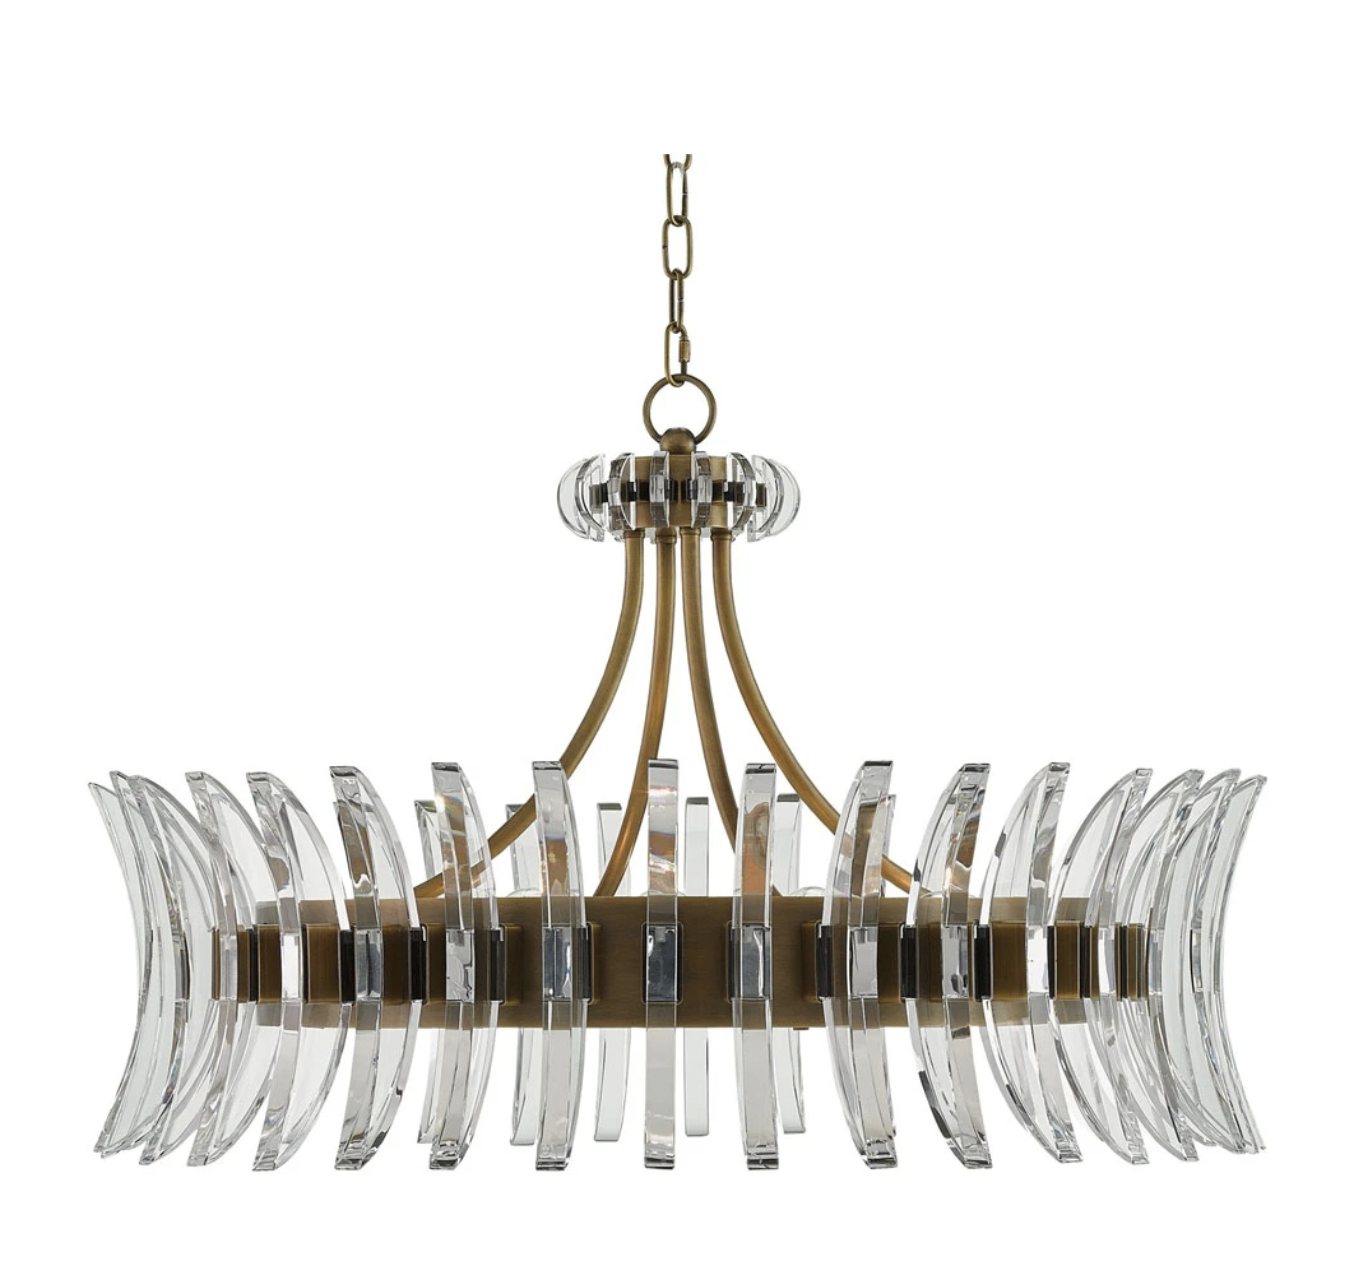
SHOP OUR FAVORITE LIGHTING
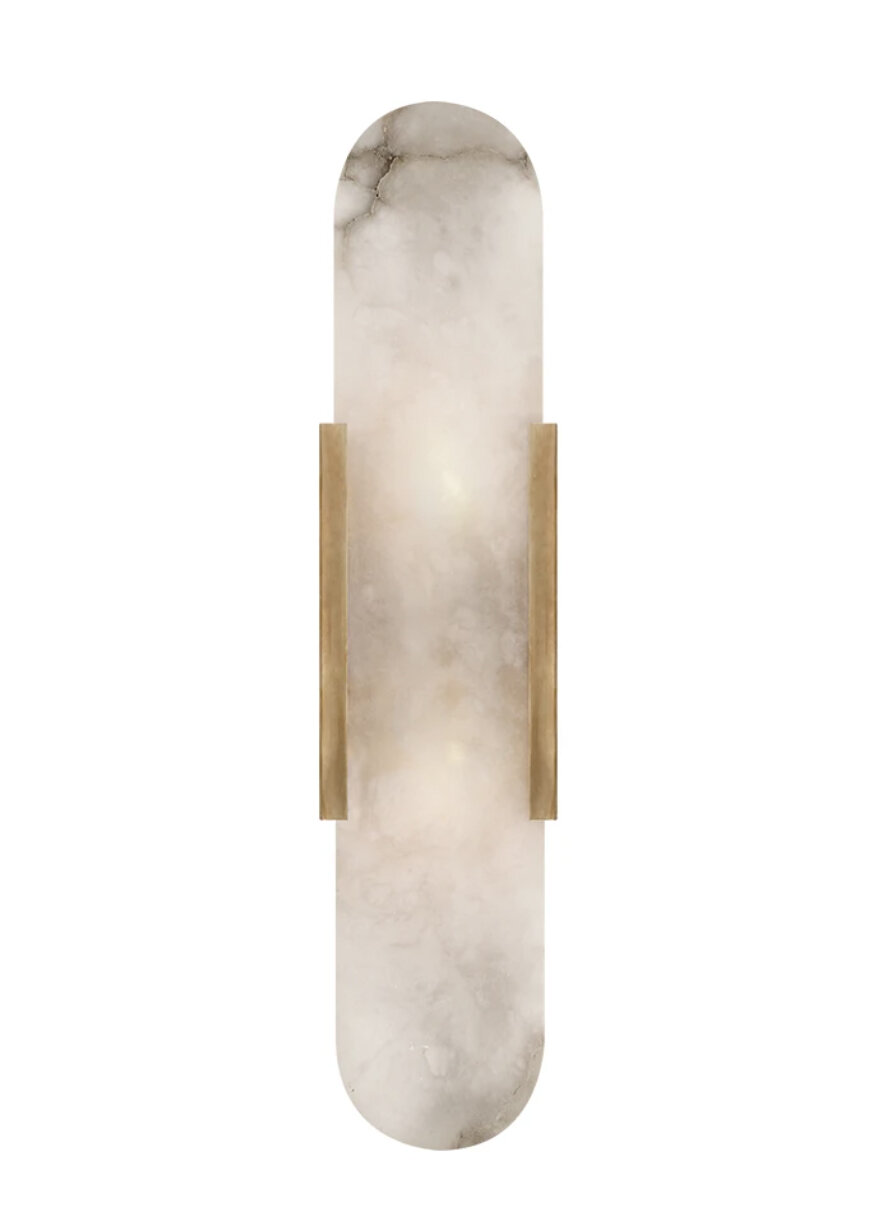

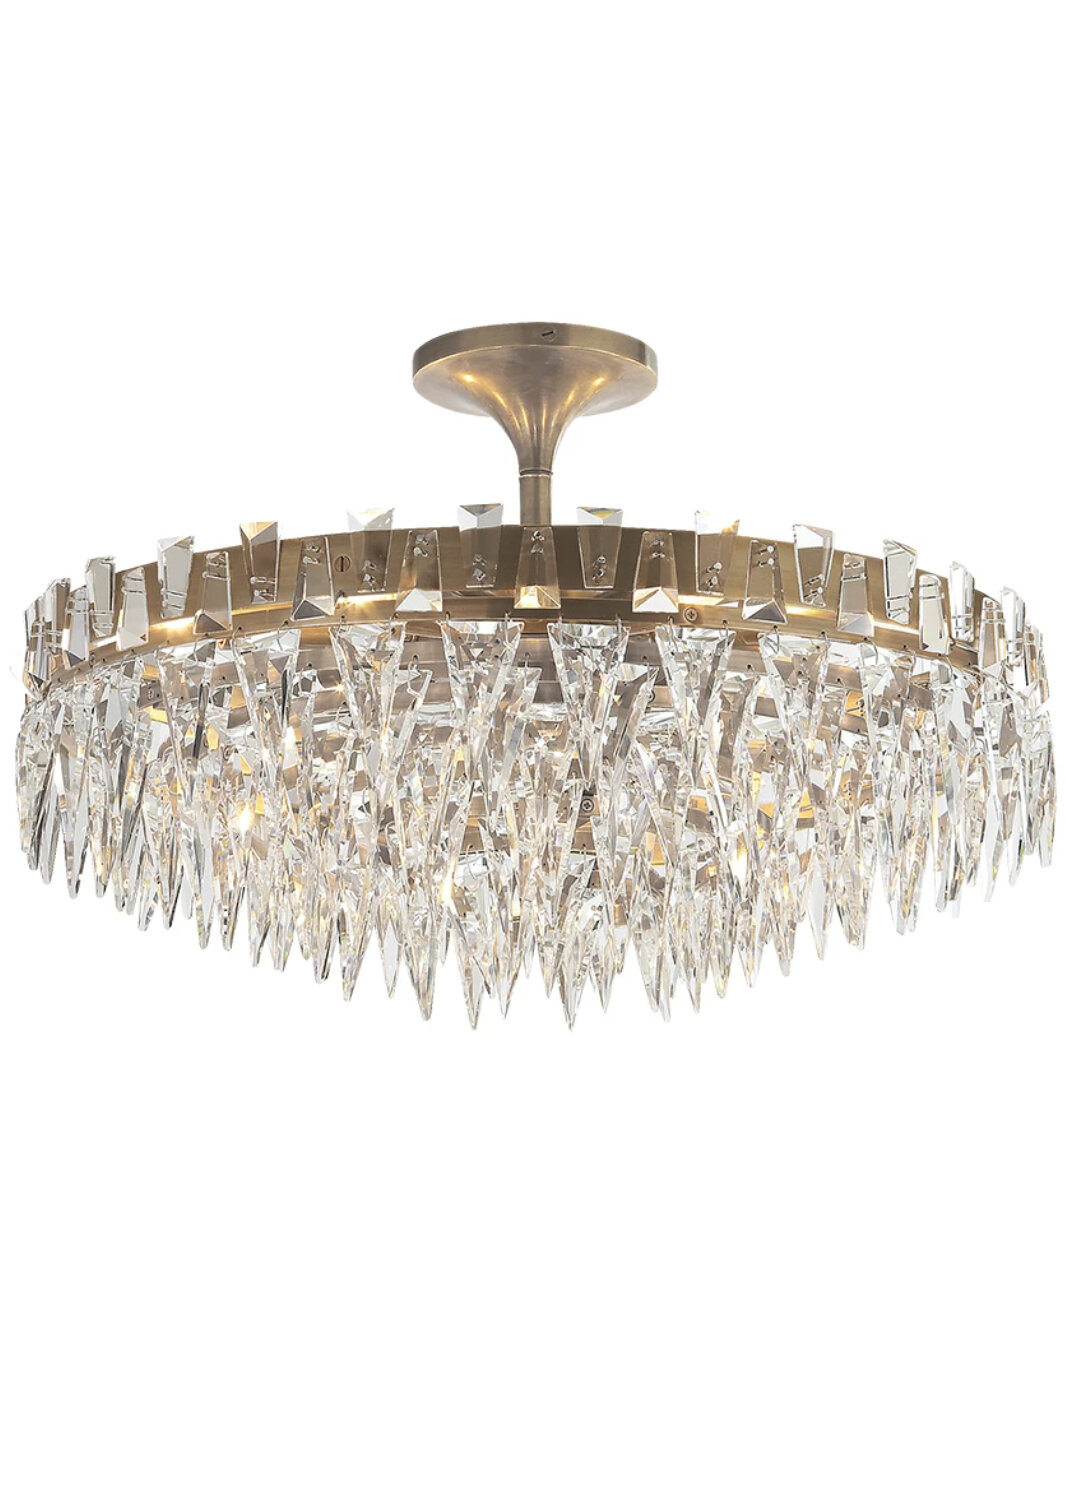

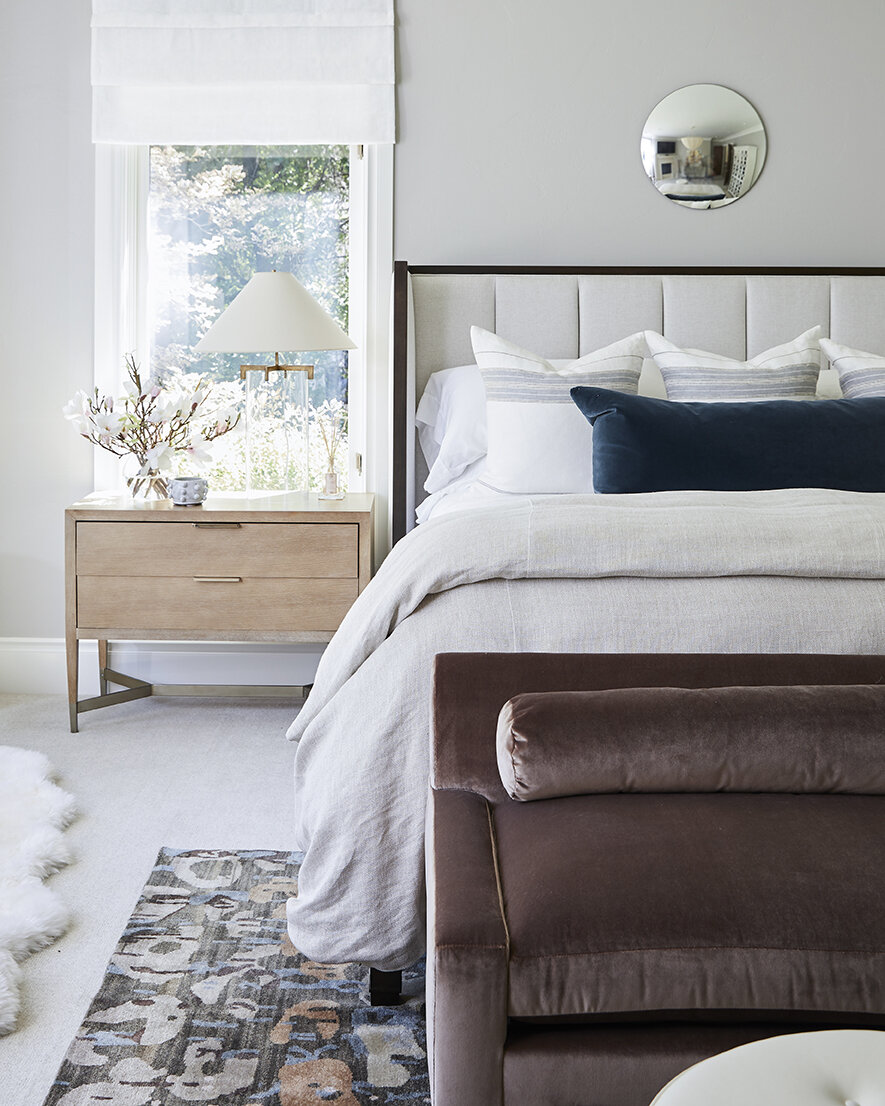
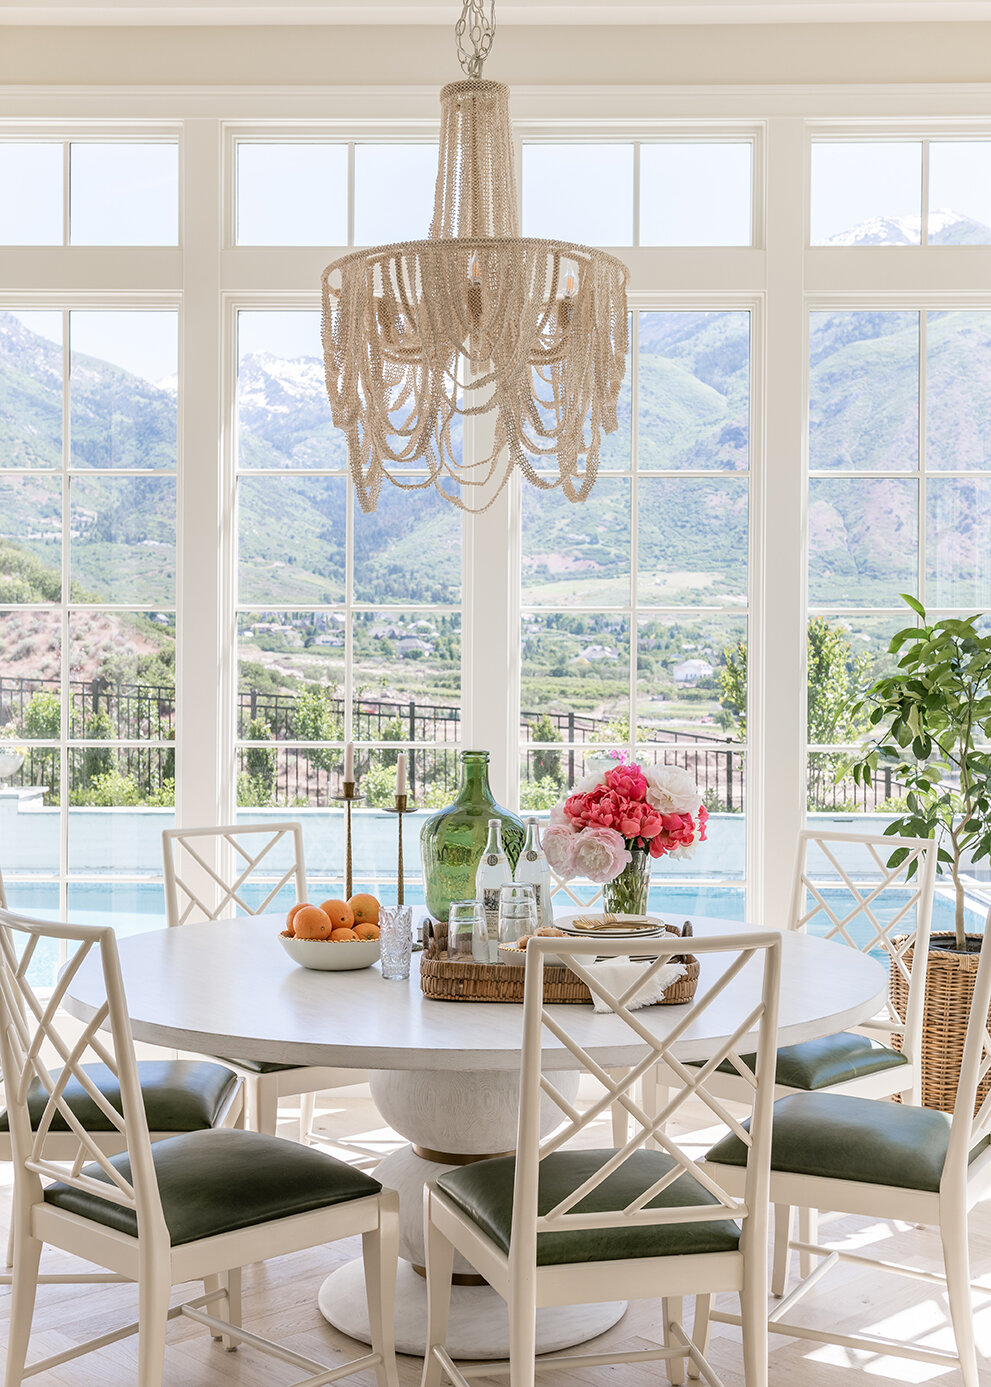
Accent lighting can be so powerful when used correctly! Sconces are a beautiful addition when they are intentionally placed. We love them flanked on a fireplace, along staircases, highlighting artwork, and on both sides of the mirror in a bathroom.
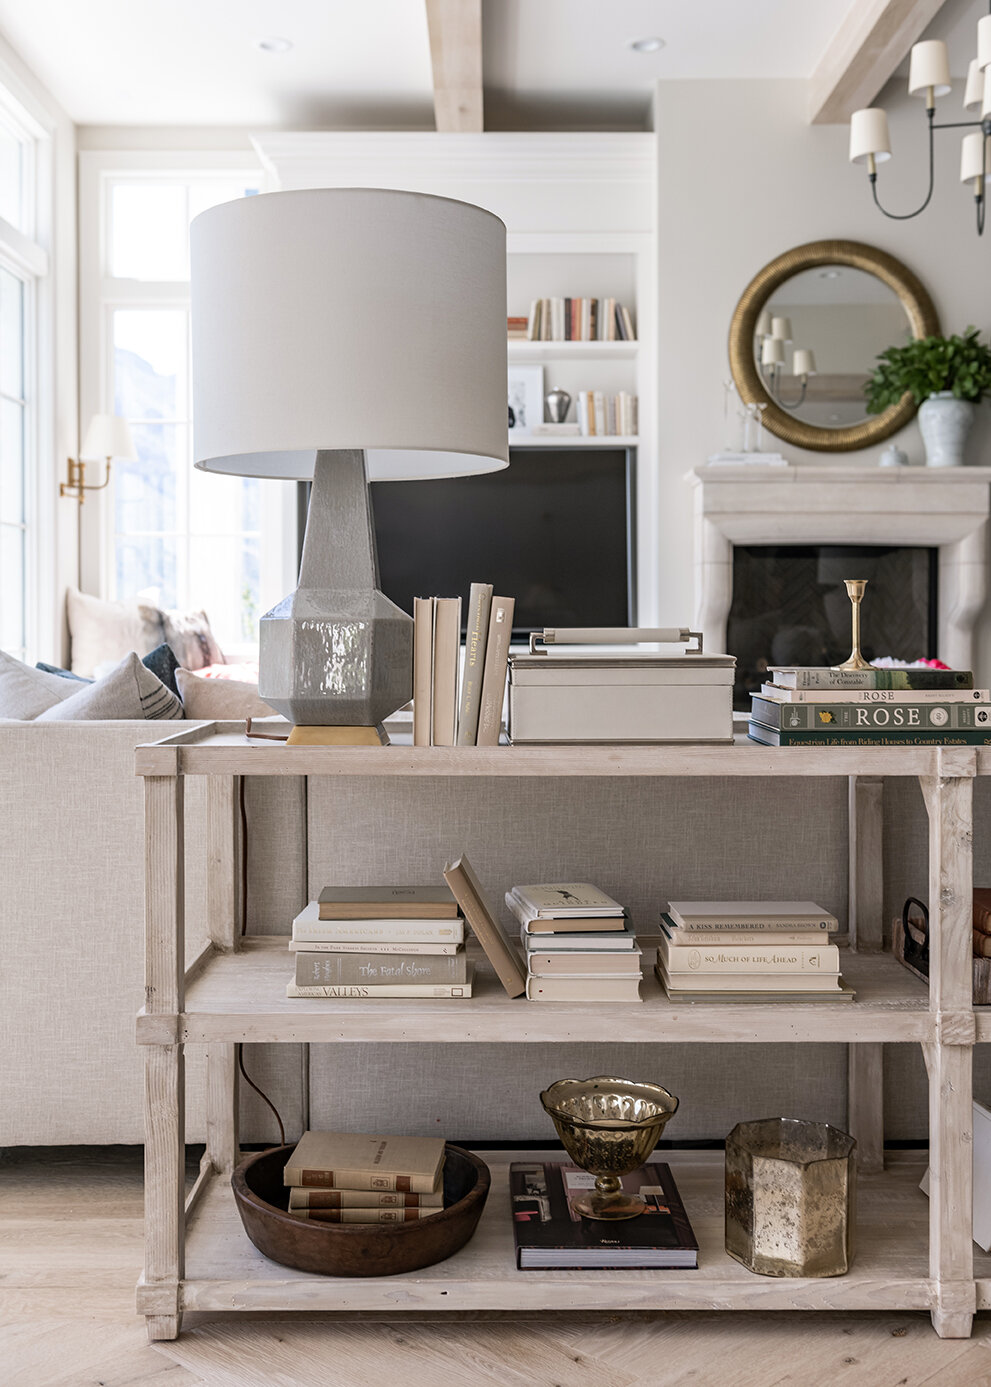
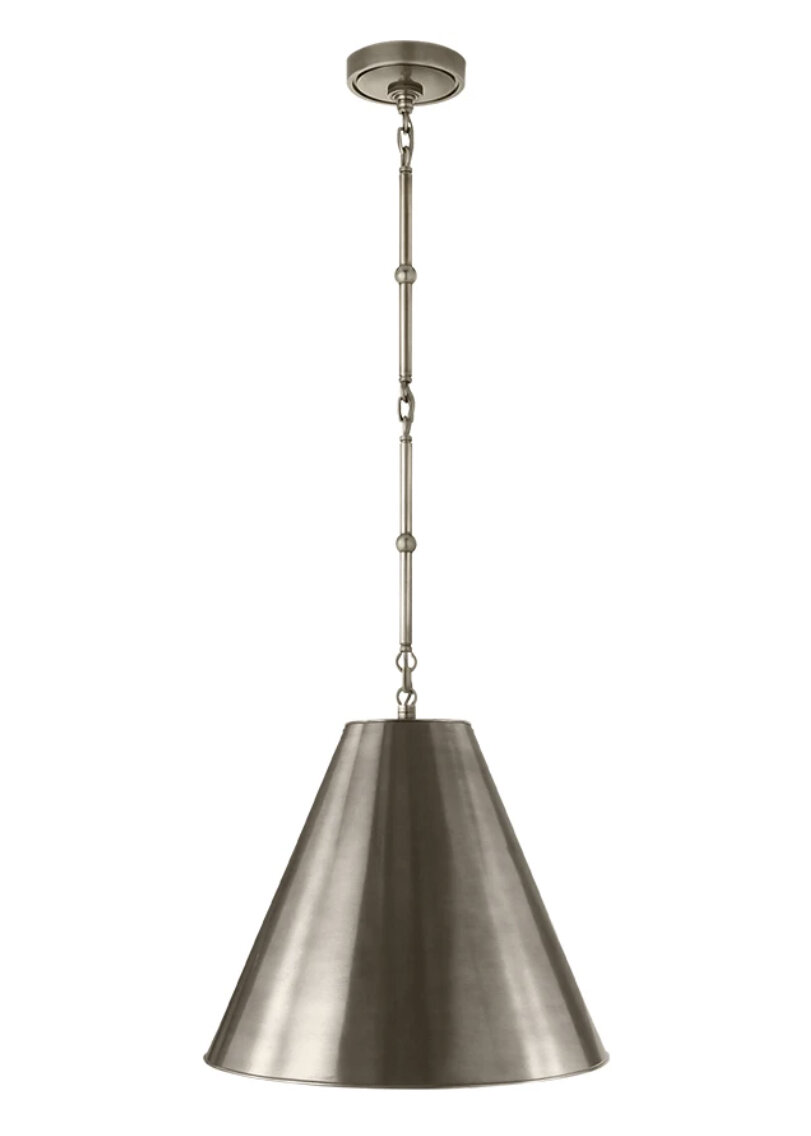
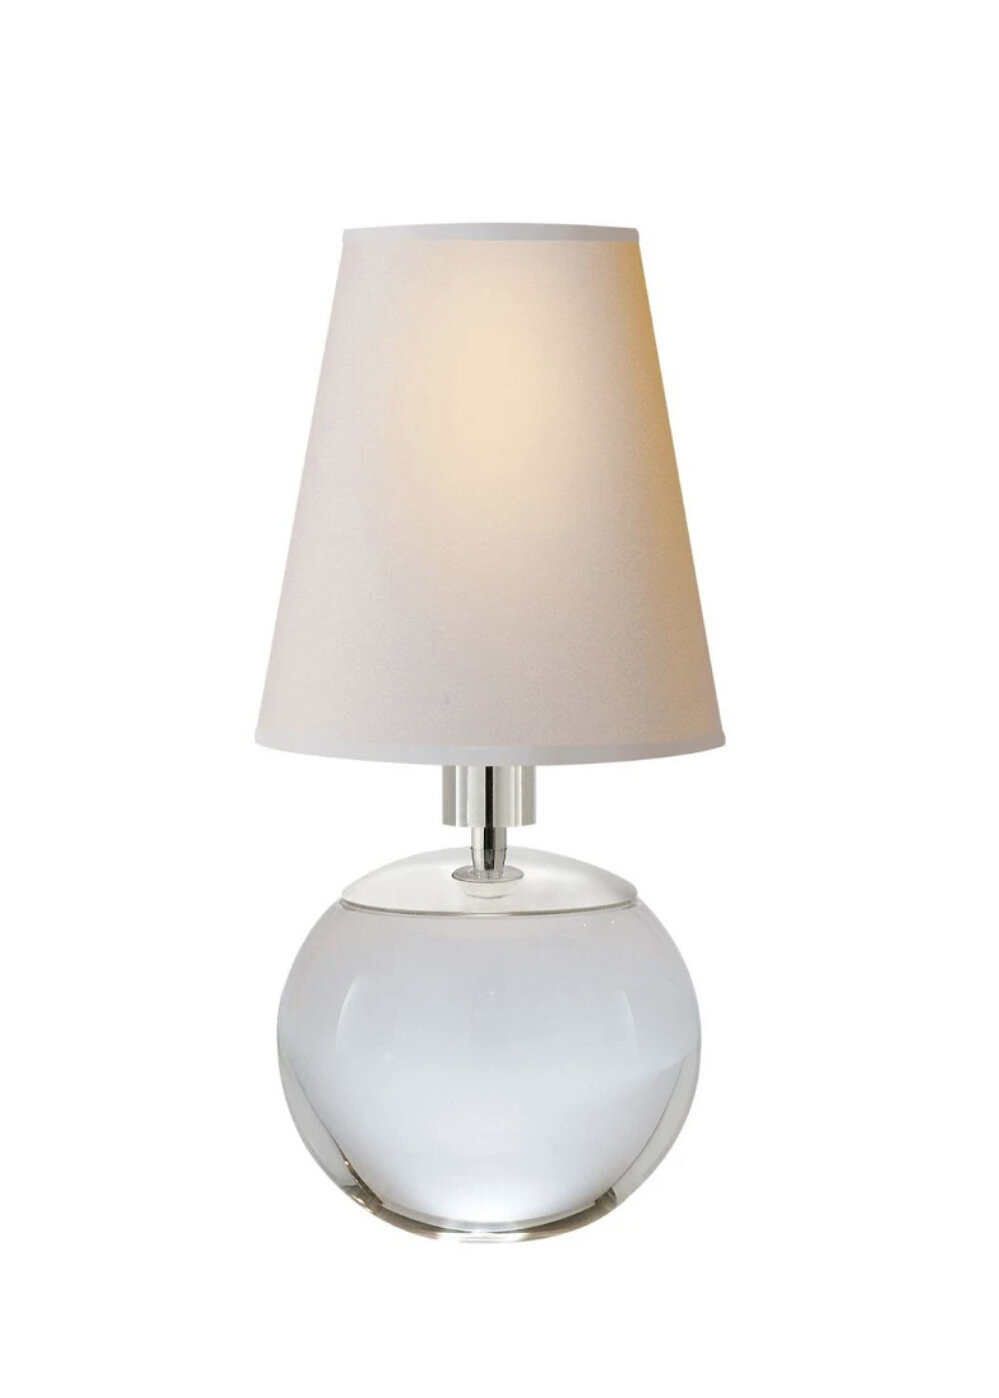
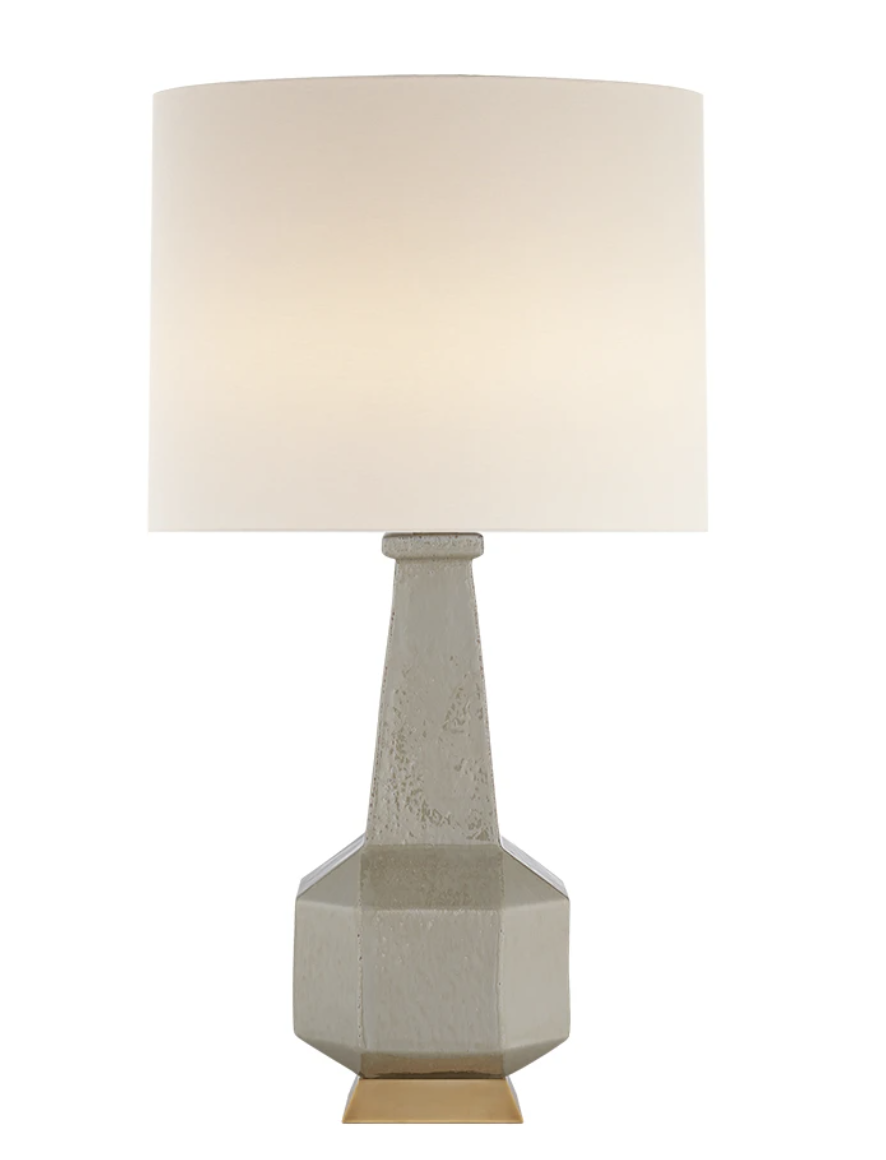
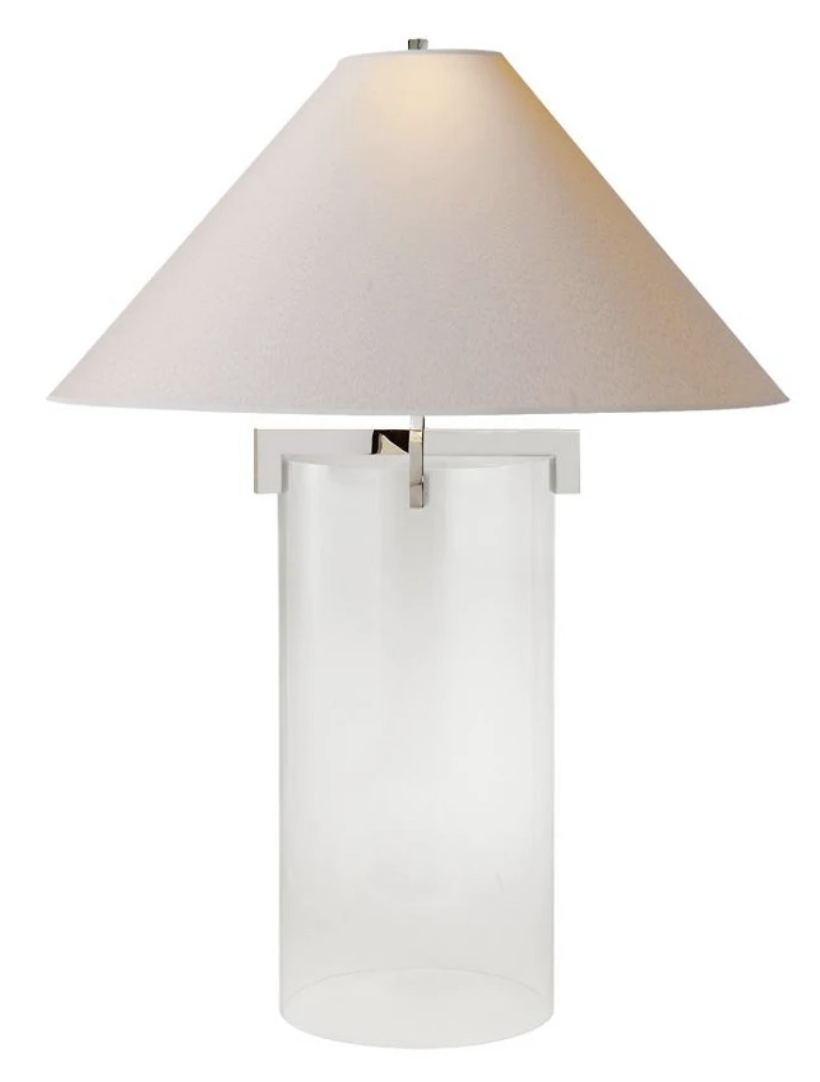
If there’s one thing every single room needs, it’s a lamp. We are always surprised at how often people forget to add floor lamps or table lamps altogether. If you can, plan out in advance where you want to have lamps. Adding an outlet after a build can cost at least 1k and about $75 to add on in the beginning, this is another reason why it’s beneficial to get ahead of the game. Plan on having a lamp near each chair, sofa, or sectional. Add a table lamp on any side table or console and a floor lamp for when you need more height visually. There is nothing more magical than turning off the overhead lights and turning on all the lamps to get the ultimate lamp glow in the evening!